Bold brows are not just a beauty trend—they’re a way to express your confidence! If you’ve ever wondered how to get those bold, defined brows you see on Instagram models and celebrities, you’re in the right place. This guide will show you step-by-step instructions on how to create bold baddie brows. Bold brows are the kind that grab attention, enhance your facial features, and make you feel ready to take on the world.
Whether you’re a beginner or a pro at brow shaping, this guide has everything you need to know to get those bold baddie brows that everyone will be talking about.
Table of Contents
ToggleWhat Are Bold Baddie Brows?
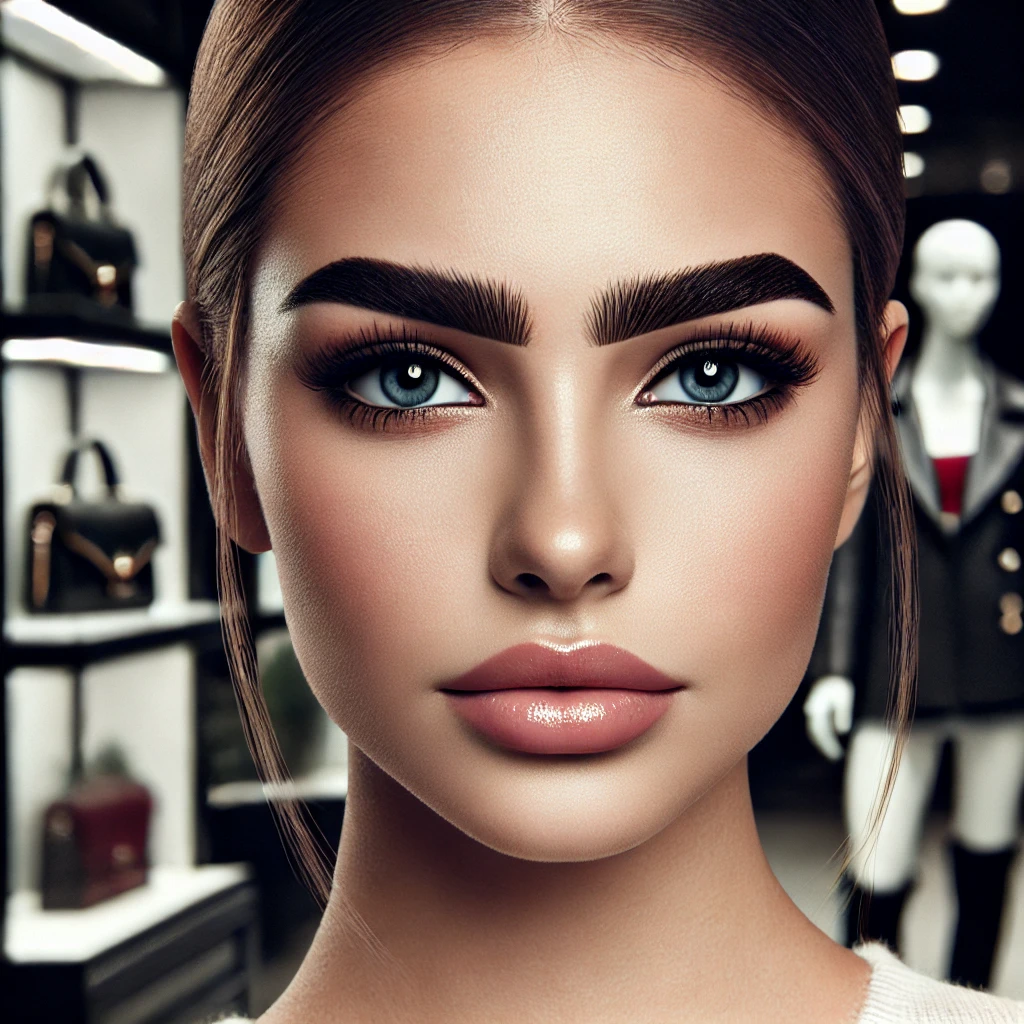
Bold baddie brows are defined, thick brows that stand out and help frame your face. The baddie aesthetic is all about confidence, style, and owning your look. Your brows are one of the first things people notice about your face, so why not make them bold and defined? The baddie brow look isn’t about going for a natural, barely-there look. It’s about full, fluffy, and fierce brows complementing your overall makeup and personality.
The idea behind bold baddie brows is to accentuate your natural shape but take it to the next level. Think thick, dramatic arches, sharp tails, and a well-groomed finish that gives you a polished, fierce look.
If you’ve ever wondered how some people manage to have brows that look so perfectly defined and sculpted, it’s not magic—it’s a combination of the right products, techniques, and maintenance.
Step 1: Get the Right Tools
To get bold baddie brows, you need to make sure you have the right tools on hand. Here’s a list of the essential tools you’ll need to achieve the perfect bold look:
- Brow Pencil: This is for outlining the shape of your brows. It’s essential to use a pencil that’s close to your natural brow color. It should be sharp enough to create fine lines for definition.
- Brow Powder or Pomade: Brow powder helps fill in your brows and make them look fuller and more defined. Brow powders create a softer look, while pomades are more intense and perfect for bold brows.
- Brow Gel: Brow gel helps keep your brows in place all day long. The finishing touch keeps your brows locked and prevents them from smudging or fading.
- Spoolie Brush: A spoolie brush is crucial for blending out the products in your brows and shaping them naturally. It also helps remove any excess product.
- Tweezers: These are for removing any stray hairs that might ruin your perfect brow shape. Make sure to tweeze in the direction of hair growth to avoid any irritation.
- Scissors: Small scissors are helpful for trimming any long brow hairs to keep them neat and uniform.
- Concealer: Concealer is your best friend when it comes to cleaning up the edges of your brows and making them look sharp and crisp.
Make sure you have all these tools before starting. Having everything ready will save you time and ensure that you don’t skip any steps.
Step 2: Shape Your Brows
The first step to getting bold baddie brows is shaping them. This step will lay the foundation for the rest of your brow look. Don’t worry—shaping doesn’t mean you have to change your natural shape drastically. It just means cleaning them up and enhancing their natural beauty.
Here’s how to shape your brows:
- Find Your Arch: Hold a pencil or brush along the side of your nose, then angle it to the outer corner of your eye. This will help you find where your arch should go. The arch should be the highest point of your brow and flow naturally with the shape of your face.
- Tweeze Any Stray Hairs: Now that you know where the arch goes, use your tweezers to remove any stray hairs that fall outside of your natural brow shape. Be careful not to over-pluck! Remember, bold brows are about fullness, not thinning them out.
- Trim Long Hairs: Some brow hairs grow longer than others, and that can make your brows look messy. Use a small pair of scissors to trim any long hairs, making sure they stay in place with your natural brow shape.
Step 3: Draw the Outline
Once your brows are shaped, it’s time to outline them to create a definition. This is one of the most critical steps when creating bold baddie brows, as the outline sets the structure for the rest of the look.
Here’s how to outline your brows:
- Draw the Bottom Line: Start at the inner corner of your brow and lightly draw a straight line along the bottom. Follow your natural shape, but you can extend it slightly to create a more defined look.
- Outline the Top: Next, draw a line along the top of your brow. Follow the natural curve of your brow, but make sure the lines are sharp and crisp.
- Define the Arch: The arch is the key to a bold look, so make sure to define it well. Use the pencil to create a slight curve at the top of your brow to give it that high, sharp look.
This will give your brows the clean, sharp outline that defines the bold baddie aesthetic.
Step 4: Fill in Your Brows
Now that your brows are outlined, it’s time to fill them in. Filling in your brows makes them look fuller and more defined. You want to create a natural-looking fullness, not a heavy, blocky fill.
Here’s how to fill in your brows:
- Use Brow Powder or Pomade: Choose a product that matches your brow color. If you’re looking for a softer, natural look, go with brow powder. If you want more definition, use brow pomade.
- Use Short Strokes: To make your brows look natural, fill them in with short, light strokes. Start at the inner part of your brow and work your way out. Don’t go too heavy on the Product—build it up slowly.
- Blend with a spoolie: After applying the Product, use a spoolie to blend everything in. The spoolie helps soften any harsh lines and makes your brows look more natural.
You can always add more Products if you want to make your brows darker or more defined, but remember: less is more when it comes to bold brows. Build up the color gradually.
Step 5: Set Your Brows with Gel
After filling in your brows, you need to make sure they stay in place. That’s where brow gel comes in. Brow gel locks in the shape and ensures that your brows don’t move throughout the day.
Here’s how to use brow gel:
- Choose the Right Gel: If you want a natural look, use a clear brow gel. If you want to add more color, use a tinted gel that matches your brow color.
- Brush Through Your Brows: Use the spoolie to brush the gel through your brows, making sure they stay in place. Brush in the direction of your hair growth to keep everything smooth.
Setting your brows with gel helps them stay locked in place, even on long days.
Step 6: Clean Up the Edges
One of the final steps in achieving bold baddie brows is cleaning up the edges to make them look crisp and sharp. This step is crucial for defining the shape and making your brows pop.
Here’s how to clean up the edges:
- Apply Concealer: Use a small, flat brush to apply concealer around the edges of your brows. This will help sharpen the shape and cover any product mistakes.
- Blend the Concealer: Make sure to blend the concealer into your skin so there are no harsh lines. You want the brow shape to stand out, but the concealer should look natural.
This step is optional, but it really helps take your brows to the next level. Bold baddie brows always look best when the edges are sharp and well-defined.
Step 7: Maintain Your Bold Brows
Now that you’ve got your bold brows looking fierce, it’s time to think about maintenance. Bold baddie brows need regular care to keep them looking fresh and on point.
Here’s how to maintain your brows:
- Touch Up Your Brows: Every few days, touch up your brows with a pencil or powder. This helps fill in any sparse areas and keep your brows looking bold.
- Tweeze Regularly: Make sure to pluck any stray hairs around your brows to maintain their shape.
- Trim Your Brow Hairs: Regularly trim any long brow hairs to prevent them from growing out of shape.
- Consider Microblading: If you want a more permanent solution, microblading is a great option. It’s a semi-permanent tattoo that fills in your brows and gives you a natural, complete look.
Tips for Perfecting Bold Baddie Brows
Here are some extra tips to make sure your bold baddie brows are always on point:
- Match Your Brow Color: When choosing a product, pick a brow pencil or powder that is one shade lighter than your natural hair color for a softer, more natural look.
- Build Product Gradually: It’s always better to start with a little product and add more as needed. This way, you can avoid overdoing it and getting a heavy, unnatural look.
- Focus on the Tail: The tail of your brow should be the most defined. Spend extra time on this part to create a strong, bold shape.
- Blend Well: Always blend the Product with a spoolie to create a natural look. This makes sure you avoid any harsh lines.
Common Mistakes to Avoid
It’s easy to make mistakes when doing your brows, but don’t worry—we’ve got you covered. Here are some common mistakes to avoid:
- Over-Plucking: Don’t overdo it with the tweezers. Bold brows are about filling in, not removing too many hairs.
- Too Much Product: Be careful not to overload your brows with Product. Start with a little and build it up.
- Harsh Lines: Avoid making your brows look too sharp or blocky. Soft, blended edges always look better.
- Matching Too Closely: When filling in your brows, use a slightly lighter shade for a more natural look.
Conclusion
Getting bold baddie brows isn’t hard once you know the proper techniques. By following these steps, practicing, and using the right products, you’ll have brows that frame your face and help you feel confident. Remember, bold brows are all about confidence, so don’t be afraid to experiment until you find the perfect look for you. Whether you’re a beginner or already a brow expert, these tips will help you get the bold, full brows you’ve always wanted.
With a bit of patience and practice, you’ll be rocking bold baddie brows every day—so go ahead, show off those brows, and confidently own your look!


